“Ionic 6 Fitness UI Theme Template App; Documentation by “IonicTemplate” v1.0
“Ionic 6 Fitness UI Theme Template App”
Created: 19/12/2019
By: IonicTemplate
Email: ionictemplate@outlook.com
Thank you for purchasing my theme. If you have any questions that are beyond the scope of this help file, please feel free to email via my user page contact form here. Thanks so much!
Table of Contents
- Introduction
- Installation Notes
- Project & Folder Structure
- Getting Started
- Edit Project Tools
- Page Structure
- Responsive Grid
- CSS Utilities
- CSS Variables
- Compatibility
- Support
- Helpful Resources
- Sources and Credits
A) Introduction - top
If you want to build your own Theme Template app with the latest version of Ionic framework, and allows you to build easily your mobile app both for Android and iOS devices, through this App.It Builds with Angular 8+, Ionic 5+, Typescript and SASS to take advantage of the future web standards.
Application structure
-
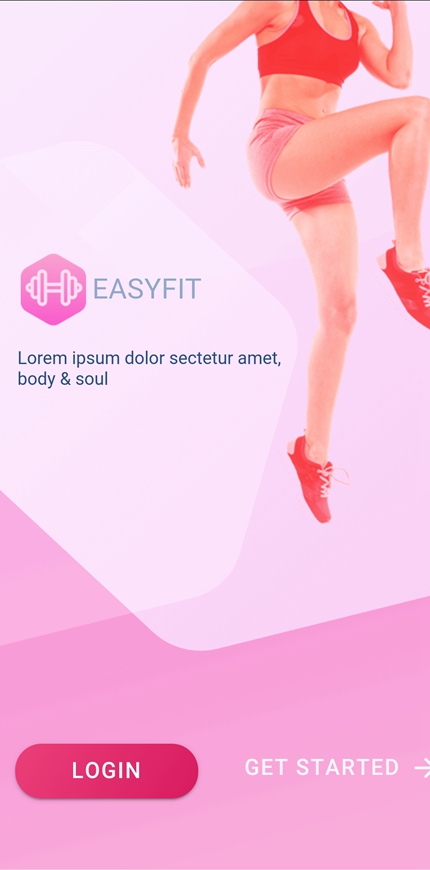
- Login Pages
- List Pages
- Animation
- Full Slides Screen Pages
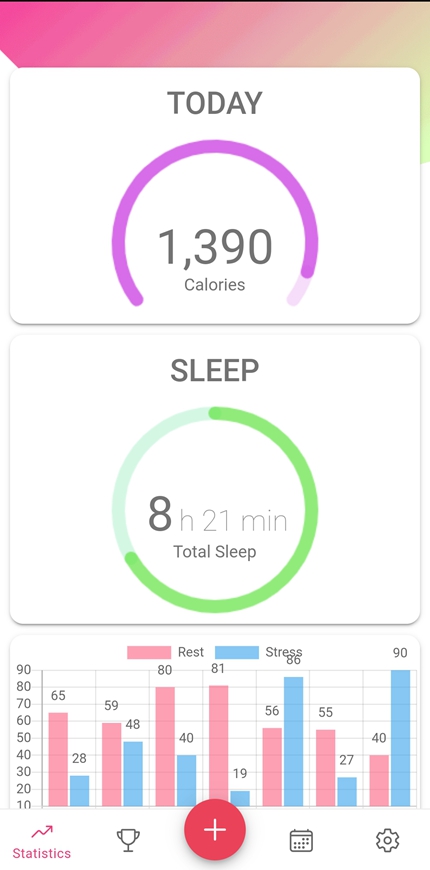
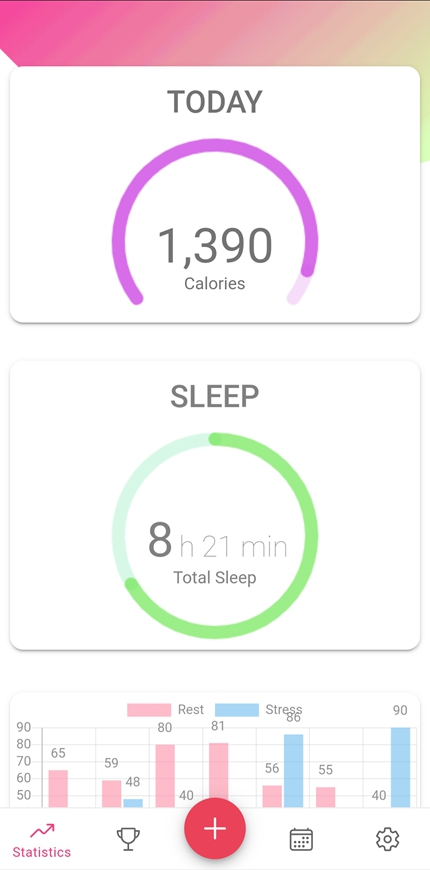
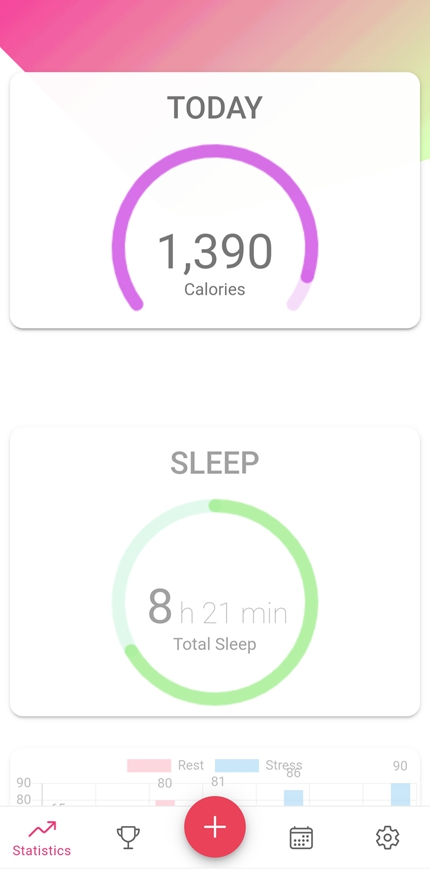
- Statistics Pages
- Setting Pages
- Award Pages
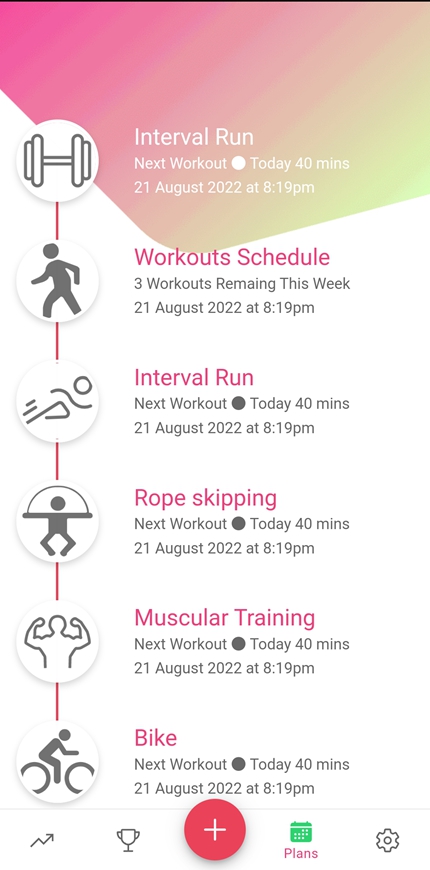
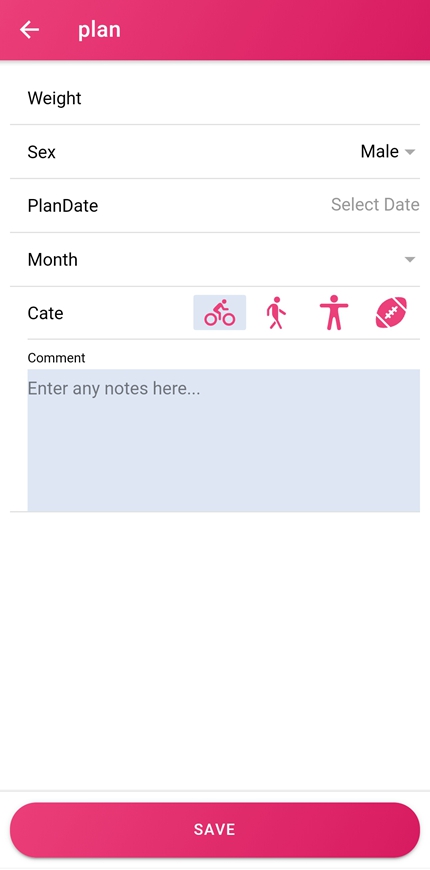
- Plan Pages
- Notification Pages
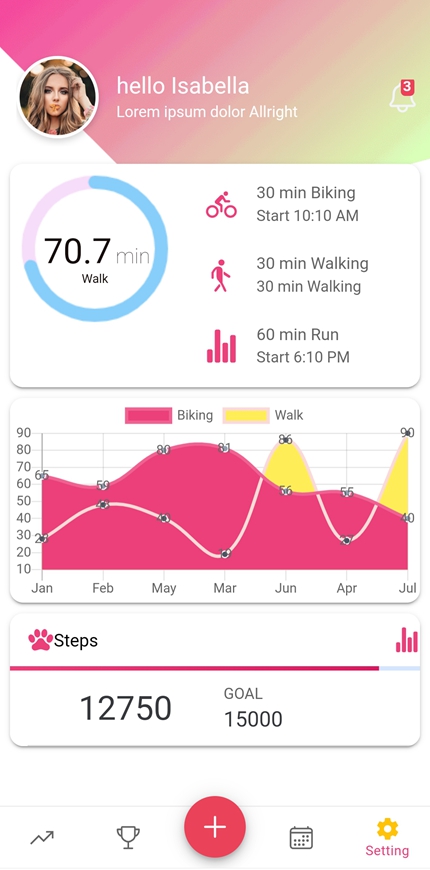
- Dashboard Pages
- Home Pages
- Tabs Pages
- Custom chart Components
- Custom line chart Components
- Custom pie Components
- Custom steps Components
- Custom timeline Components
- Custom walk Components
- Custom modal Components
- More….
B) Installation Notes - top
- You’ll need a basic understanding of : To get this up and running. I’ve made it as simple as possible but you’ll still need to know the basics.
- If you would like to learn or find more information go to Helpful Resources and Sources and Credits
C) Project & Folder Structure - top
This Project is a default file & folder structure of ionic framework.
- Project structure
- Node_modules This is a default folder of NodeJs.
- Plugin This is the plugin you installed.
- resources This is Application(android/ios) Icon and Splash Screen file.
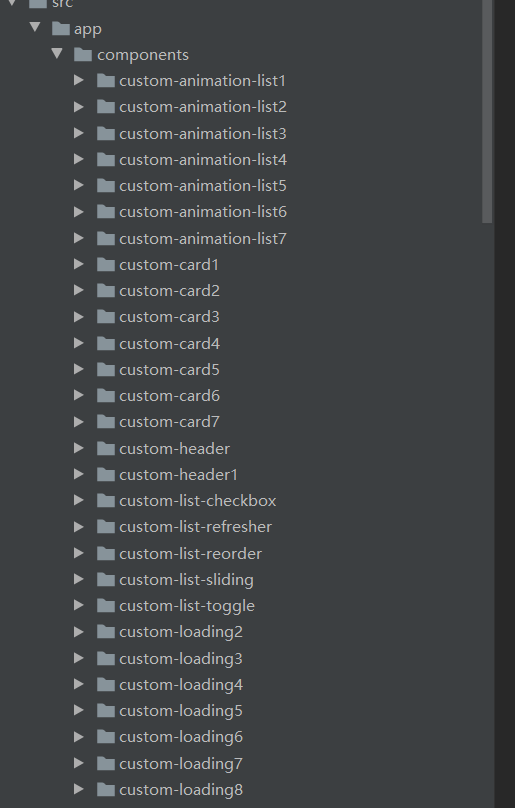
- src This is the project source folder
- App This is the page, component, route of the project
- Assets This is the project containing images, video, Icons etc
- Environments This is the configuration of the production and development environments
- Theme All CSS global variables and color definitions
- Index.html This is a main HTML file of project default page when application start and all reference of css and javascript lib is here.
- Assets Folder Structure
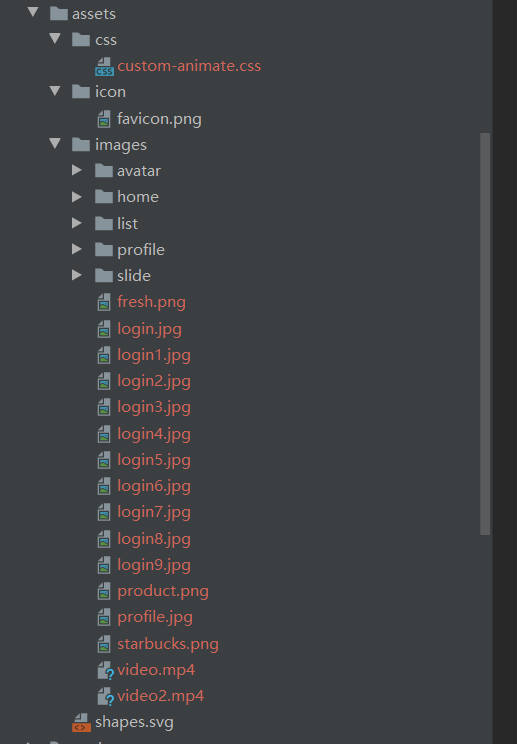
- Css Folder This is all custom external CSS.
- Icon Folder This is App Icon.
- Img Folder This is the image/video used in the app.
D) Getting Started - top
D1) Installing development environment - top
- install nodejs LTS Version Node.js.open a new cmd.exe for windows or Terminal for mac
- install ionic
npm install -g ionic cordova mac: sudo npm install -g ionic cordova - install angular
npm install -g @angular/cli mac: sudo npm install -g @angular/cli - npm install
cd project_path/project_name npm install mac: npm install - Run Project
cd project_path/project_name ionic serve --run on browser ionic cordova run android --run on android(First you must have an Android environment installed.) ionic cordova run ios --run on ios(First you must have an Ios environment installed.) - Install Android SDK downloading AndroidStudio
- Open program Android Studio
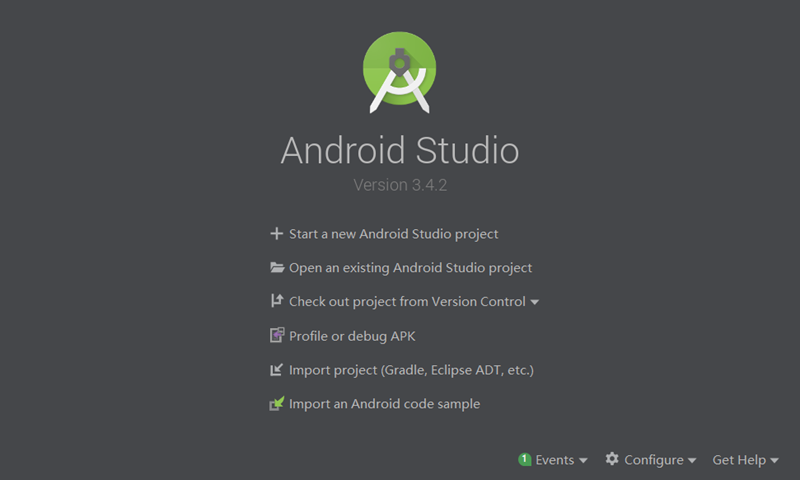
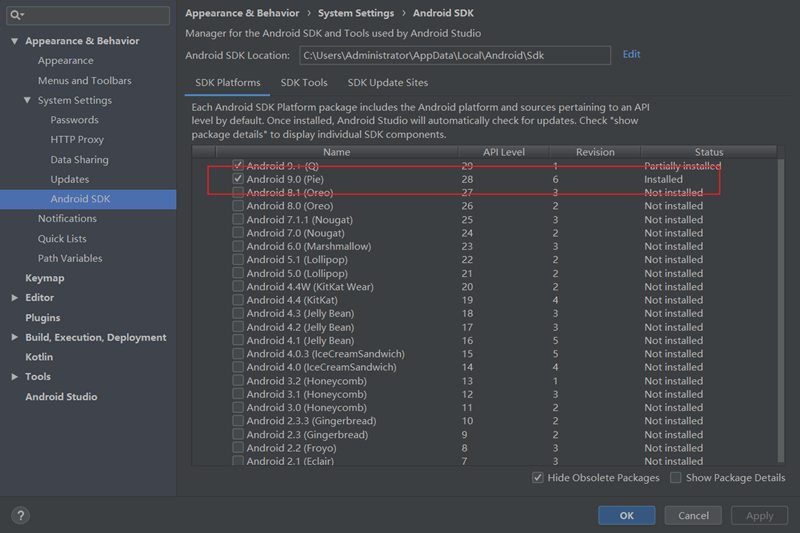
- Click Configure then SDK Manager
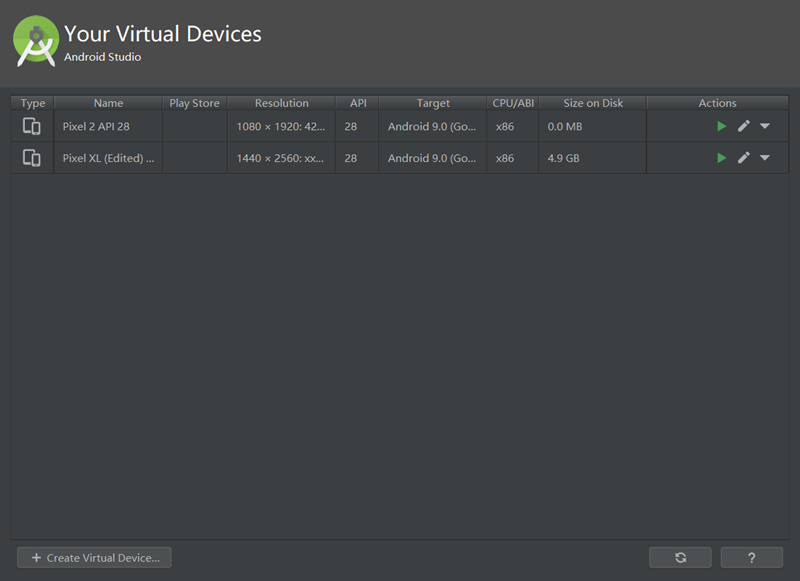
- Click Configure then AVD Manager
- Open program Android Studio
D2) Open Project top
extract files fromIonic 6 Fitness UI Theme Template App zip package
npm install
D3) Run and Debug On Browser - top- top
Use ionic serve -l to start a local development and run on browser. Open a new cmd.exe for windows or Terminal for mac and run :
         cd project_path/project_name
         ionic serve


D4) ionic cordova build - top- top
Like running cordova build directly, but also builds web assets with configuration from ionic build and provides friendly checks. To pass additional options to the Cordova CLI, use the -- separator after the Ionic CLI arguments.
        cd project_path/project_name
        ionic cordova build android
        ionic cordova build ios
D5) ionic cordova emulate - top- top
Build your app and deploy it to devices and emulators using this command. Optionally specify the --livereload option to use the dev server from ionic serve for livereload functionality.
        ionic cordova emulate android
        ionic cordova emulate ios
D6) ionic cordova run - top- top
Build your app and deploy it to devices and emulators using this command. Optionally specify the --livereload option to use the dev server from ionic serve for livereload functionality.
        ionic cordova run android
        ionic cordova run ios
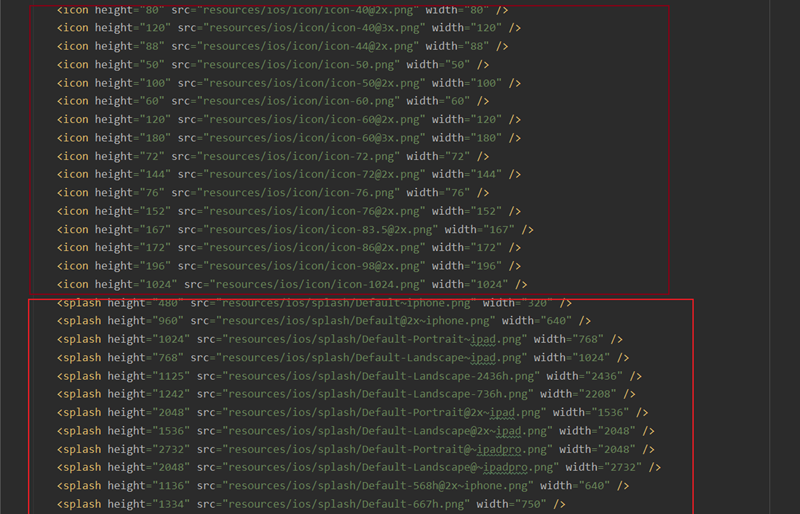
D7) ionic cordova resources -- top
Generate perfectly sized icons and splash screens from PNG source images for your Cordova platforms with this command.
The source image for icons should ideally be at least 1024×1024px and located at resources/icon.png. The source image for splash screens should ideally be at least 2732×2732px and located at resources/splash.png. If you used ionic start, there should already be default Ionic resources in the resources/ directory, which you can overwrite.
You can also generate platform-specific icons and splash screens by placing them in the respective resources/ platform/ directory. For example, to generate an icon for Android, place your image at resources/android/icon.png.
For best results, the splash screen's artwork should roughly fit within a square (1200×1200px) at the center of the image. You can use https://code.ionicframework.com/resources/splash.psd as a template for your splash screen.
ionic cordova resources will automatically update your config.xml to reflect the changes in the generated images, which Cordova then configures.
This command uses the cordova-res utility to generate resources locally. You can also login to your Ionic account and use Ionic servers to generate icons and splash screens with --no-cordova-res.
        ionic cordova resources android
        ionic cordova resources ios
![]()
D8) ionic generate -- top
This command uses the Angular CLI to generate features such as pages, components, directives, services, etc.
        ionic generate page
        ionic generate page contact
        ionic generate component contact/form
        ionic generate component login-form --change-detection=OnPush
        ionic generate directive ripple --skip-import
        ionic generate service api/user
E) Edit Project Tools - top
F)Page Structure - top
Ionic Framework provides several different layouts that can be used to structure an app. From single page layouts, to split pane views and modals.
- Header Learn More
The most simple layout available consists of a header and content. Most pages in an app generally have both of these, but a header is not required in order to use content.
<ion-app> <ion-header> <ion-toolbar> <ion-title>Header</ion-title> </ion-toolbar> </ion-header> <ion-content padding> <h1>Main Content</h1> </ion-content> </ion-app> - Footer Learn More
As you can see, a toolbar in a header appears above the content. Sometimes an app needs to have a toolbar below the content, which is when a footer is used.
<ion-app> <ion-content padding> <h1>Main Content</h1> </ion-content> <ion-footer> <ion-toolbar> <ion-title>Footer</ion-title> </ion-toolbar> </ion-footer> </ion-app> - Tabs Layout
A layout consisting of horizontal tabs can be used to let the user quickly change between content views. Each tab can contain static content or a navigation stack by using an ion-router-outlet or ion-nav.
<ion-app>
  <ion-tabs>
    <ion-tab tab="home">
      <h1>Home Content</h1>
    </ion-tab>
    <ion-tab tab="settings">
      <h1>Settings Content</h1>
    </ion-tab>

    <ion-tab-bar slot="bottom">
      <ion-tab-button tab="home">
        <ion-label>Home</ion-label>
        <ion-icon name="home"></ion-icon>
      </ion-tab-button>
      <ion-tab-button tab="settings">
        <ion-label>Settings</ion-label>
        <ion-icon name="settings"></ion-icon>
      </ion-tab-button>
    </ion-tab-bar>
  </ion-tabs>
</ion-app>
G)Responsive Grid - top
The grid is a powerful mobile-first flexbox system for building custom layouts. It is composed of three units — a grid, row(s) and column(s). Columns will expand to fill their row, and will resize to fit additional columns. It is based on a 12 column layout with different breakpoints based on the screen size. The number of columns can be customized using CSS.
<ion-grid>
  <ion-row>
    <ion-col size="4">
      <div>
        1 of 4
      </div>
    </ion-col>
    <ion-col size="2">
      <div>
        2 of 4
      </div>
    </ion-col>
    <ion-col size="2">
      <div>
        3 of 4
      </div>
    </ion-col>
    <ion-col size="4">
      <div>
        4 of 4
      </div>
    </ion-col>
  </ion-row>
</ion-grid>
H)CSS Utilities - top
Ionic Framework provides a set of CSS utility classes that can be used on any element in order to modify the text, element placement or adjust the padding and margin.
- Text Modification
Class Style Rule Description .ion-text-lefttext-align: leftThe inline contents are aligned to the left edge of the line box. .ion-text-righttext-align: rightThe inline contents are aligned to the right edge of the line box. .ion-text-starttext-align: startThe same as text-leftif direction is left-to-right andtext-rightif direction is right-to-left..ion-text-endtext-align: endThe same as text-rightif direction is left-to-right andtext-leftif direction is right-to-left..ion-text-centertext-align: centerThe inline contents are centered within the line box. .ion-text-justifytext-align: justifyThe inline contents are justified. Text should be spaced to line up its left and right edges to the left and right edges of the line box, except for the last line. .ion-text-wrapwhite-space: normalSequences of whitespace are collapsed. Newline characters in the source are handled as other whitespace. Breaks lines as necessary to fill line boxes. .ion-text-nowrapwhite-space: nowrapCollapses whitespace as for normal, but suppresses line breaks (text wrapping) within text. - Text Transformation
<ion-grid>
  <ion-row>
    <ion-col>
      <div class="ion-text-uppercase">
        <h3>text-uppercase</h3>
        Lorem ipsum dolor sit amet, consectetur adipiscing elit. Sed ac vehicula lorem.
      </div>
    </ion-col>
    <ion-col>
      <div class="ion-text-lowercase">
        <h3>text-lowercase</h3>
        Lorem ipsum dolor sit amet, consectetur adipiscing elit. Sed ac vehicula lorem.
      </div>
    </ion-col>
    <ion-col>
      <div class="ion-text-capitalize">
        <h3>text-capitalize</h3>
        Lorem ipsum dolor sit amet, consectetur adipiscing elit. Sed ac vehicula lorem.
      </div>
    </ion-col>
  </ion-row>
</ion-grid>
Class Style Rule Description .ion-text-uppercasetext-transform: uppercaseForces all characters to be converted to uppercase. .ion-text-lowercasetext-transform: lowercaseForces all characters to be converted to lowercase. .ion-text-capitalizetext-transform: capitalizeForces the first letter of each word to be converted to uppercase. - Float Elements
<ion-grid>
  <ion-row>
    <ion-col class="ion-float-left">
      <div>
        <h3>float-left</h3>
        Lorem ipsum dolor sit amet, consectetur adipiscing elit. Sed ac vehicula lorem.
      </div>
    </ion-col>
    <ion-col class="ion-float-right">
      <div>
        <h3>float-right</h3>
        Lorem ipsum dolor sit amet, consectetur adipiscing elit. Sed ac vehicula lorem.
      </div>
    </ion-col>
  </ion-row>
</ion-grid>
Class Style Rule Description .ion-float-leftfloat: leftThe element will float on the left side of its containing block. .ion-float-rightfloat: rightThe element will float on the right side of its containing block. .ion-float-startfloat: left/float: rightThe same as float-leftif direction is left-to-right andfloat-rightif direction is right-to-left..ion-float-endfloat: left/float: rightThe same as float-rightif direction is left-to-right andfloat-leftif direction is right-to-left.
M)CSS Variables - top
Ionic components are built with CSS Variables for easy customization of an application. CSS variables allow a value to be stored in one place, then referenced in multiple other places. They also make it possible to change CSS dynamically at runtime (which previously required a CSS preprocessor). CSS variables make it easier than ever to override Ionic components to match a brand or theme.
- Global Variables
When using the Ionic CLI to start an Angular project, the src/theme/variables.scss file is created where you can override the default Ionic Variables.
/* Set variables for all modes */ :root { /* Set the background of the entire app */ --ion-background-color: #ff3700; /* Set the font family of the entire app */ --ion-font-family: -apple-system, BlinkMacSystemFont, "Helvetica Neue", "Roboto", sans-serif; } /* Set text color of the entire app for iOS only */ .ios { --ion-text-color: #000; } /* Set text color of the entire app for Material Design only */ .md { --ion-text-color: #222; } - Component Variables Learn More
To set a CSS variable for a specific component, add the variable inside of its selector. See Ionic Variables for more information on the component-level variables Ionic provides.
/* Set the color on all ion-button elements */ ion-button { --color: #222; } /* Set the background on an ion-button with the .fancy-button class */ .fancy-button { --background: #00ff00; } - Application Variables
Name Description --ion-font-familyFont family of the app --ion-statusbar-paddingStatusbar padding top of the app --ion-safe-area-topAdjust the safe area inset top of the app --ion-safe-area-rightAdjust the safe area inset right of the app --ion-safe-area-bottomAdjust the safe area inset bottom of the app --ion-safe-area-leftAdjust the safe area inset left of the app --ion-marginAdjust the margin of the Margin attributes --ion-paddingAdjust the padding of the Padding attributes - Grid Variables
Name Description --ion-grid-columnsNumber of columns in the grid --ion-grid-padding-xsPadding of the grid for xs breakpoints --ion-grid-padding-smPadding of the grid for sm breakpoints --ion-grid-padding-mdPadding of the grid for md breakpoints --ion-grid-padding-lgPadding of the grid for lg breakpoints --ion-grid-padding-xlPadding of the grid for xl breakpoints --ion-grid-column-padding-xsPadding of the grid columns for xs breakpoints --ion-grid-column-padding-smPadding of the grid columns for sm breakpoints --ion-grid-column-padding-mdPadding of the grid columns for md breakpoints --ion-grid-column-padding-lgPadding of the grid columns for lg breakpoints --ion-grid-column-padding-xlPadding of the grid columns for xl breakpoints
N) Compatibility - top
- Android Version >=5.0
- Ios Version >=9
O) Support - top
If you find any errors or bugs, please describe in the comments of the project
- Device platform
- Device version
- Problem details
- Need to record the occurrence steps of the problem
Important We can not support the following cases:
- Plugins We not support the error case of plugin compatibility with platform and new plugin update because we can’t do anything to fix the issue. Because we don’t have the skill and knowledge to develop the plugin. We will let you know and update the instruction on project documentation if it have any update or workaround solutions.
- Device size We not support the issue of tablet and web browser resolution size
- All Desktop Browser You have to know about this project is mobile hybrid application that run on mobile devise not website that hosted on web serve that have to support all browser on desktop
P) Helpful Resources - top
- Ionic Framework Introduction
- Angular Framework
- Angular Material
- Cordova
- Angular + Firebase + Typescript
- Angular HTTP Interceptors
- Native Device Features with Ionic Native & Cordova
Q) Sources and Credits - top
I've used the following Icons, Image,Framework,Native plugin or Other files as listed,Also Thank you very much for all the resources I have used to development this project
Resources used in Development
Resources used in Design
Once again, thank you so much for purchasing Ionic 6 Fitness UI Theme Template App. As I said at the beginning, I'd be glad to help you if you have any questions relating to this theme.
IonicTemplate