StartApp iOS (v2 SwiftUI XCode 11)
Authentication system for iOS apps written in Xcode 11 and SwiftUI. StartApp is an iOS project that startups and indie iOS developers need for an easy and quick start coding process of a universal iOS app. All professional apps need an authentication system to allow their users to register and login in different devices, store user's data in a cloud database and an analytics system.
StarApp allows users to sign in with Email and Password using a nice and user-friendly form, creates a users database to manage user accounts and store their data in Google Firebase. Uses the last version of Google Firebase Cloud Firestore database, authentication systems and Google Analytics that allows you to build apps fast, without managing infrastructure and without cost. StartApp provides a nice UI design built with Apple's new framework SwiftUI for your Register and Login screens that fits perfectly in all iPhones and iPad screens size and even in Dark Mode configuration. All code to connect read and write data in real-time to Firebase and manage users errors is provided as well as a clear tutorial about how to install StartApp. All code is written in Swift 5, well commented and easy to customize for your own app.
Features
Technical features:
Install StartApp
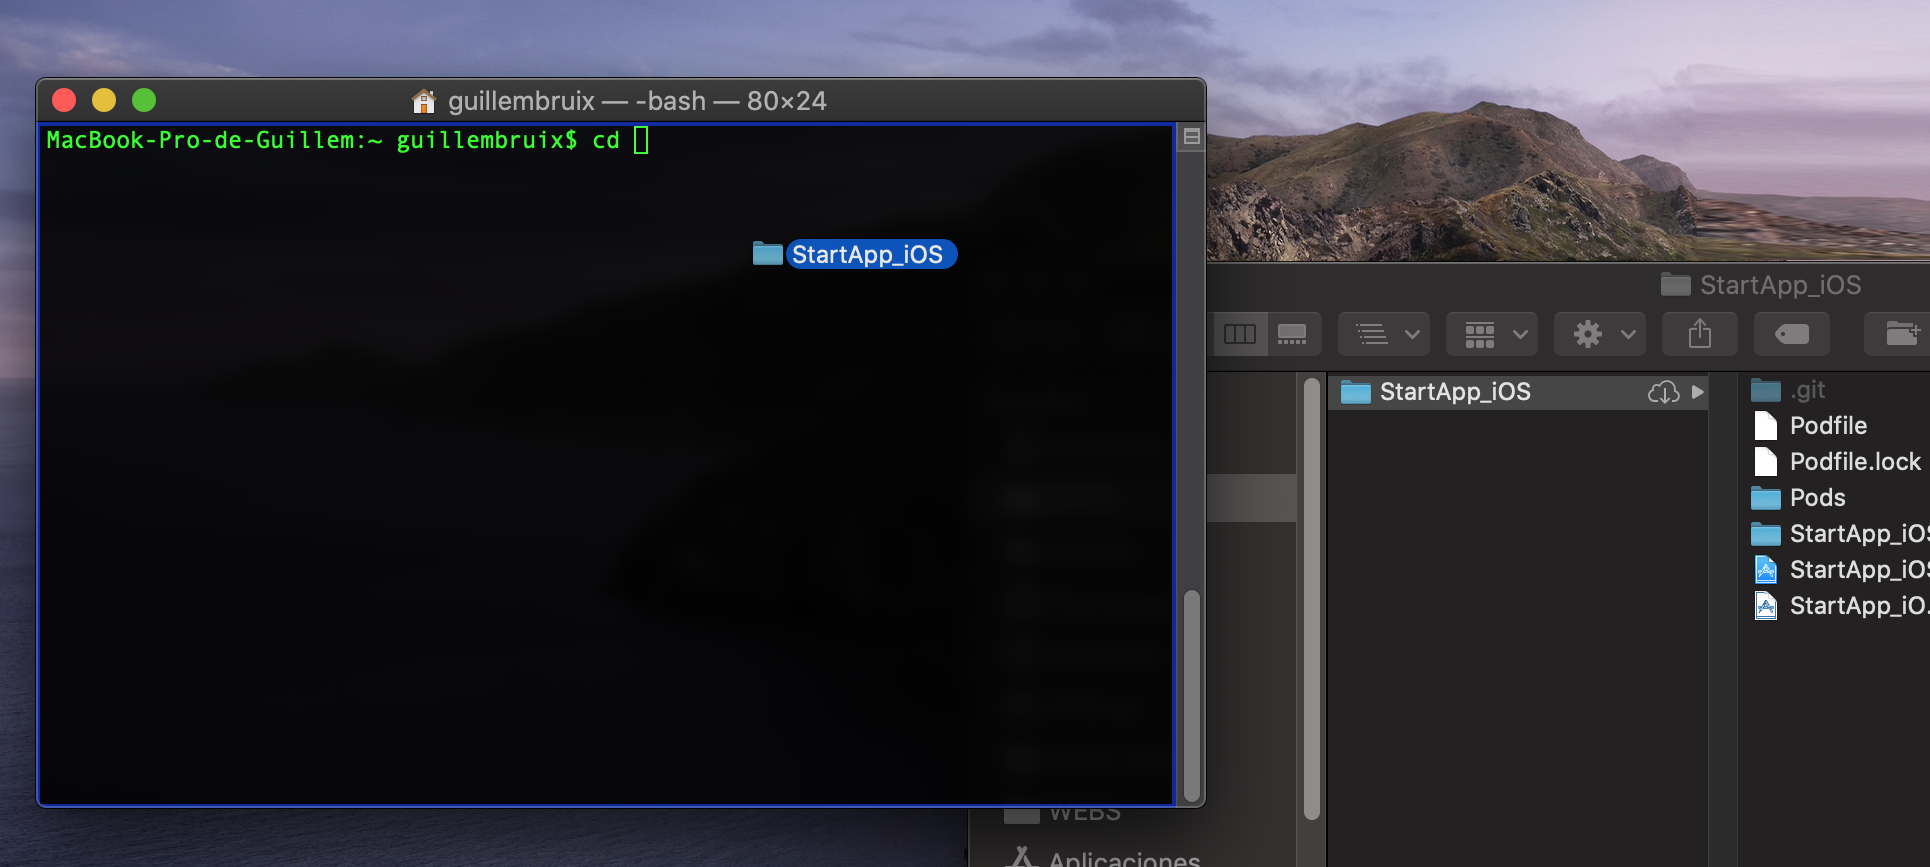
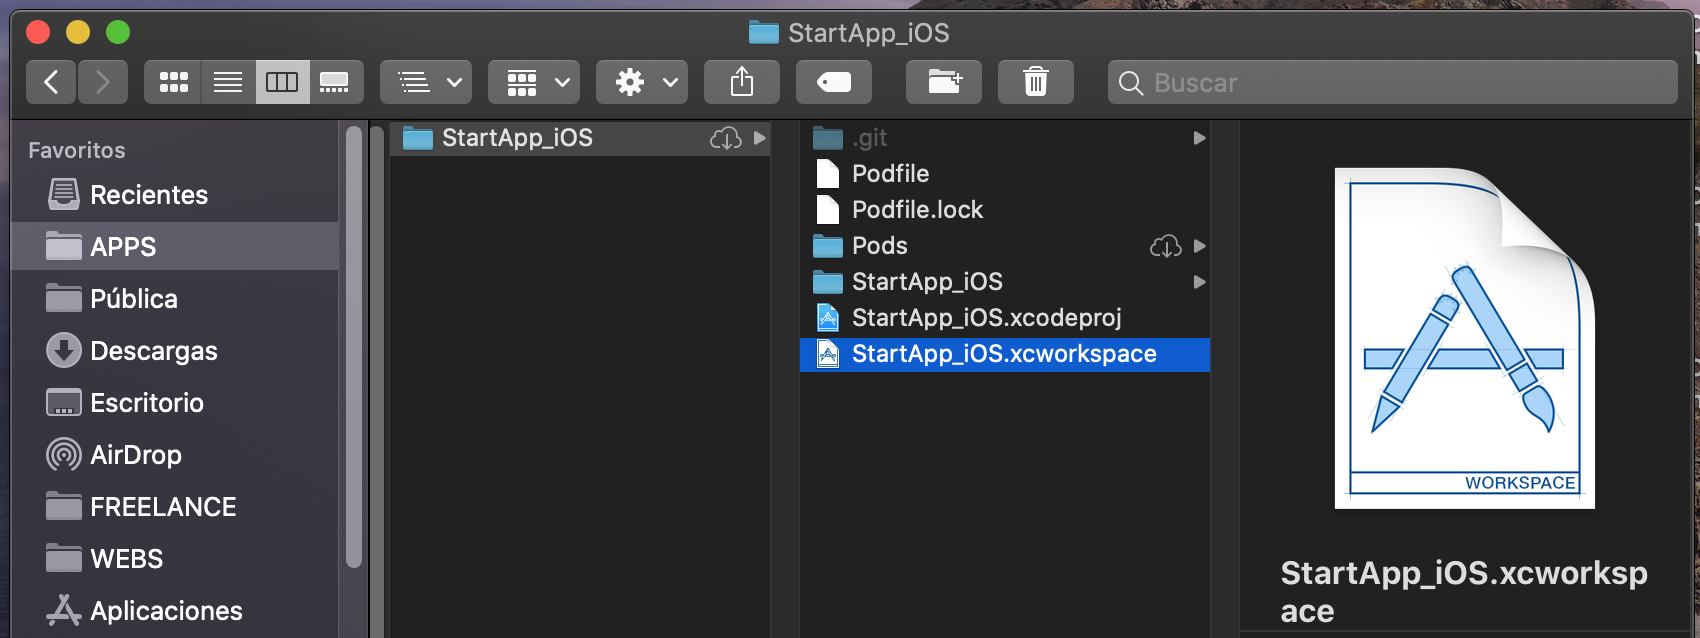
StartApp uses CocoaPods to install Firebase library dependencies. If you don’t have CocoaPods installed in your mac, please install it first: https://guides.cocoapods.org/using/getting-started.html
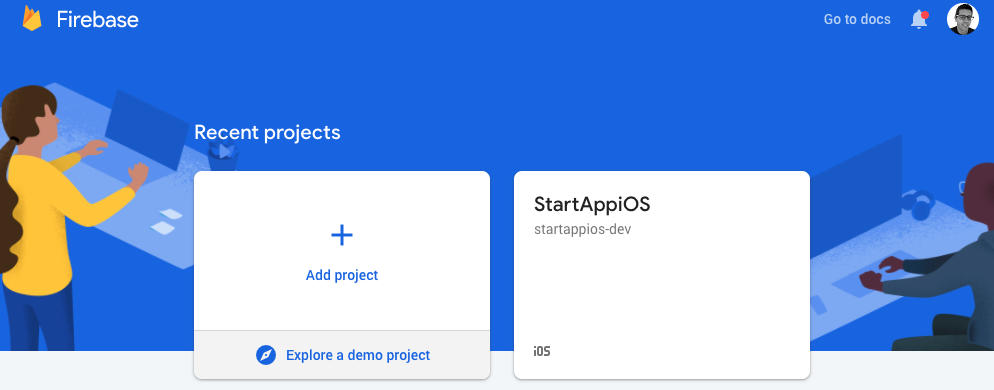
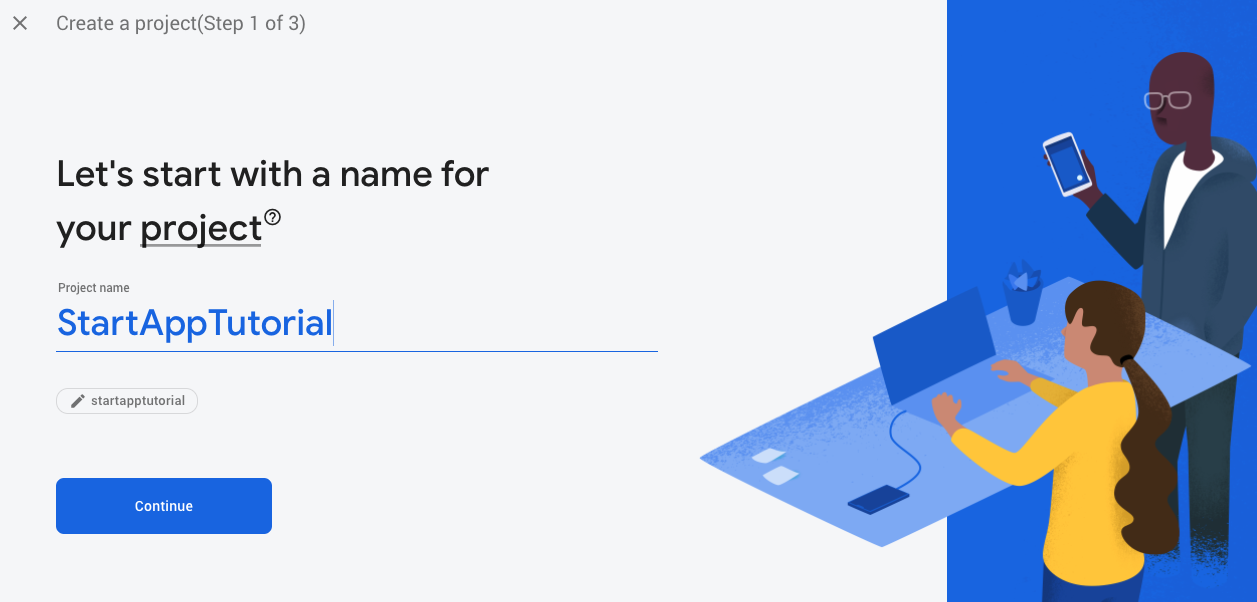
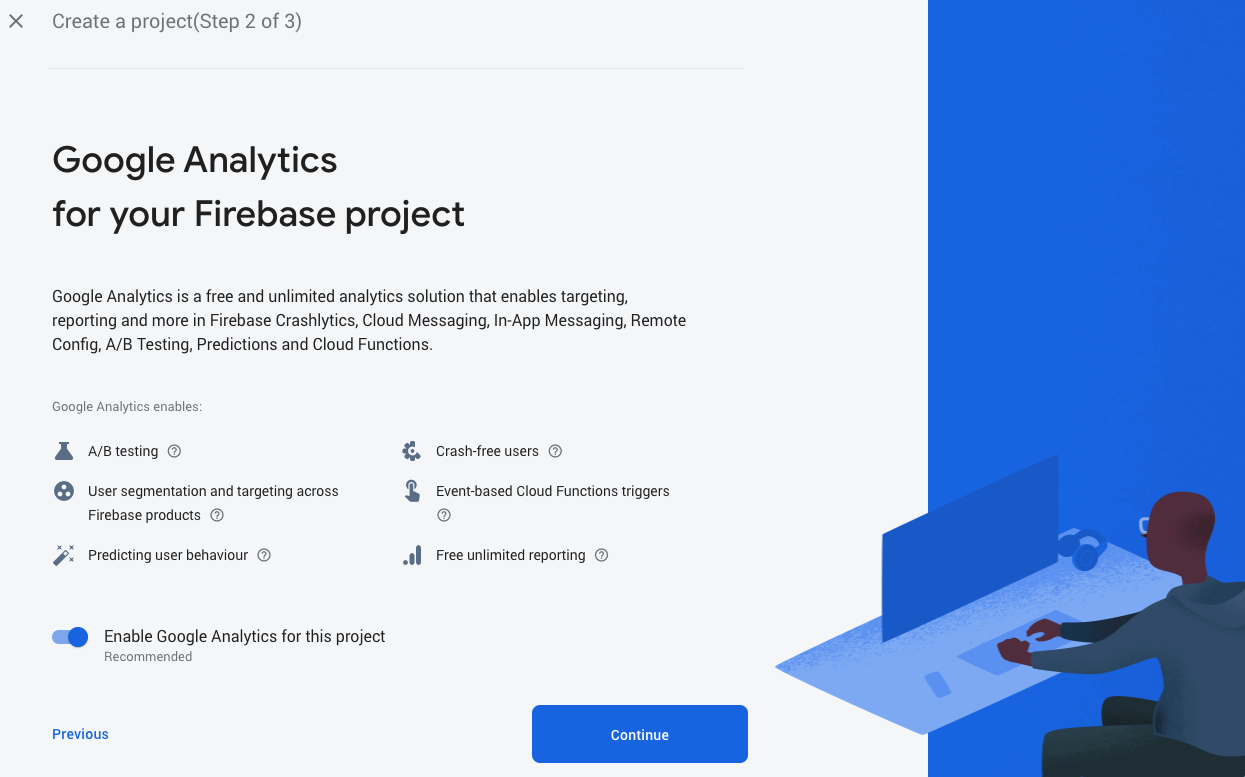
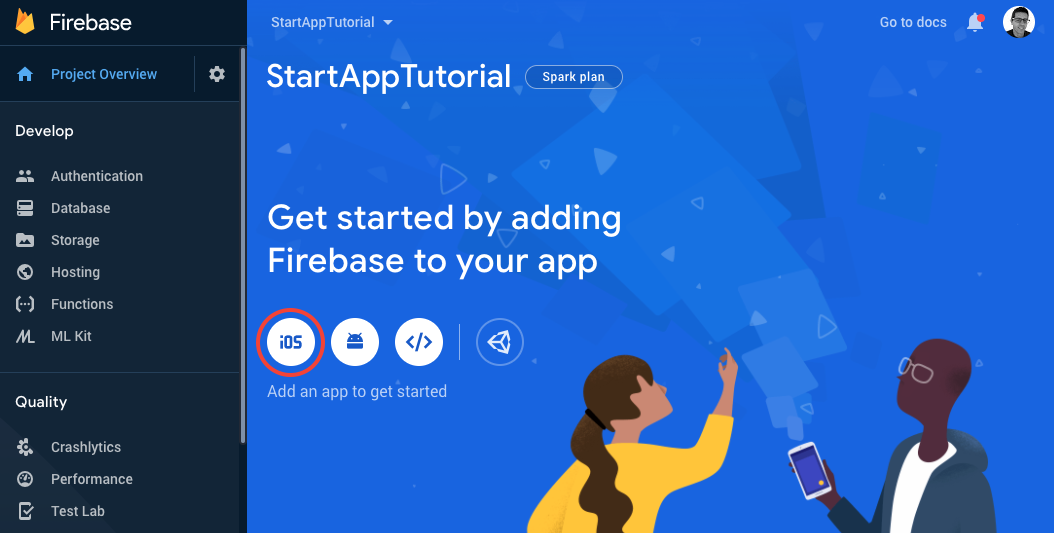
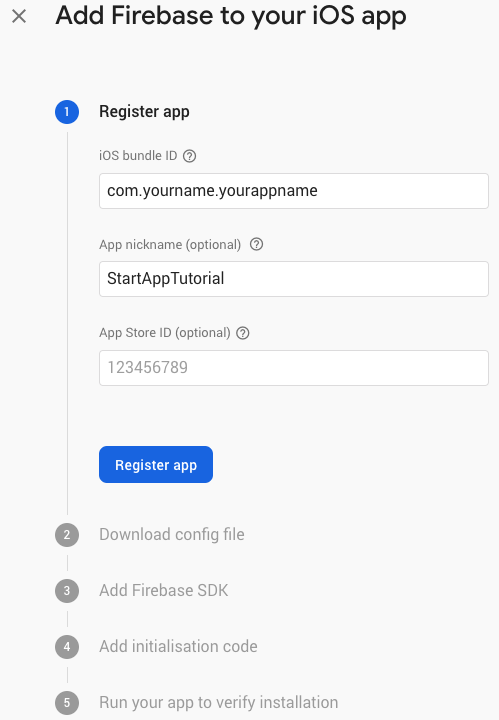
CREATE YOUR OWN FIREBASE PROJECT:
StartApp uses Firebase from Google to manage users, Firestore database and analytics.
If you could login into the app is because StartApp is configured with the Firebase account of StartApp team. You can set up the app with your own accounts by creating your own Firebase project.
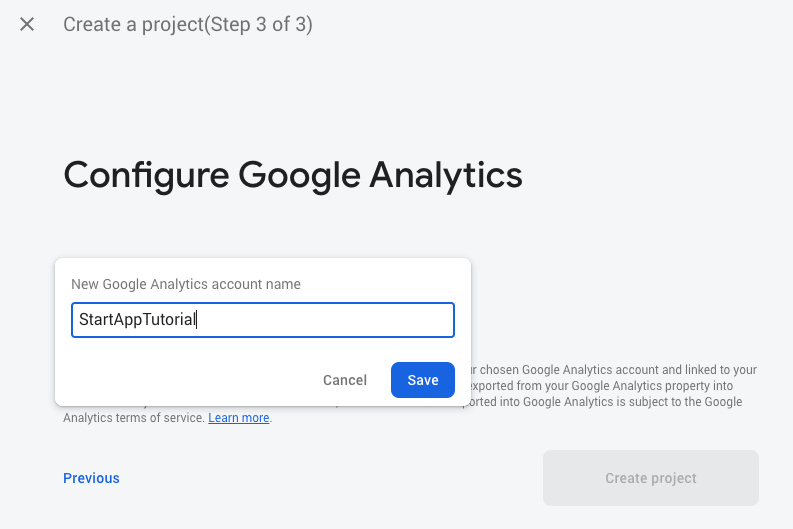
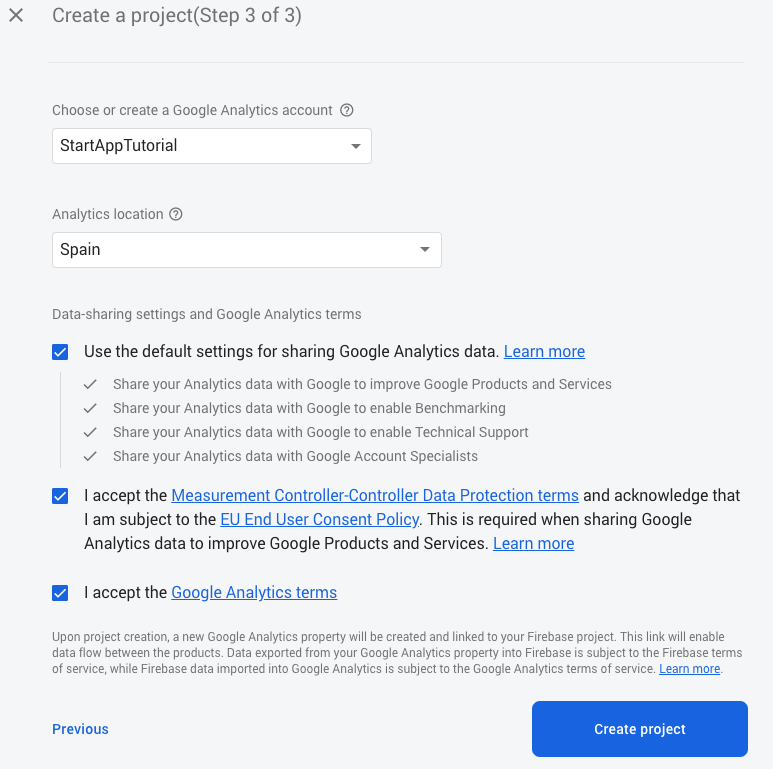
Click “Save”. Select your country in “Analytics Location”, check all the conditions and click on “Create project”:
18. Delete the old one:
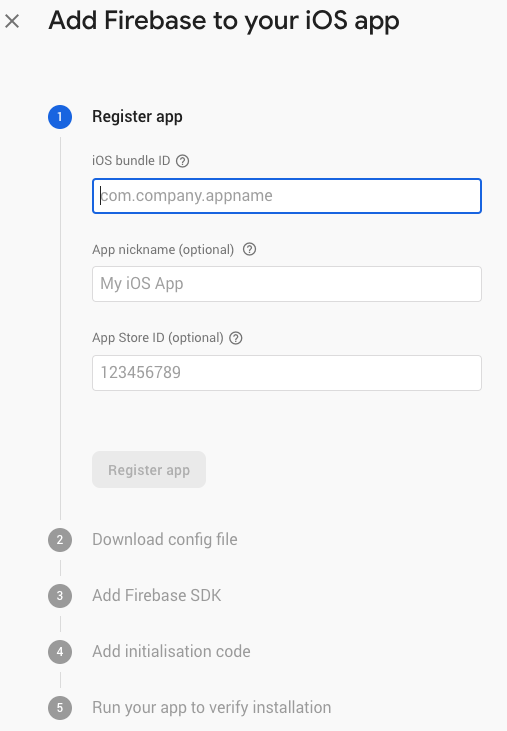
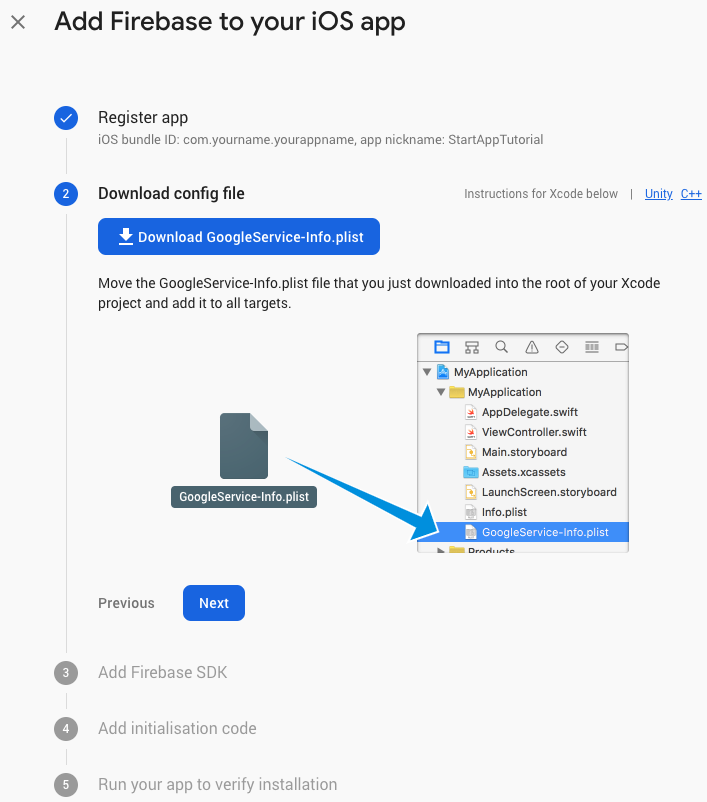
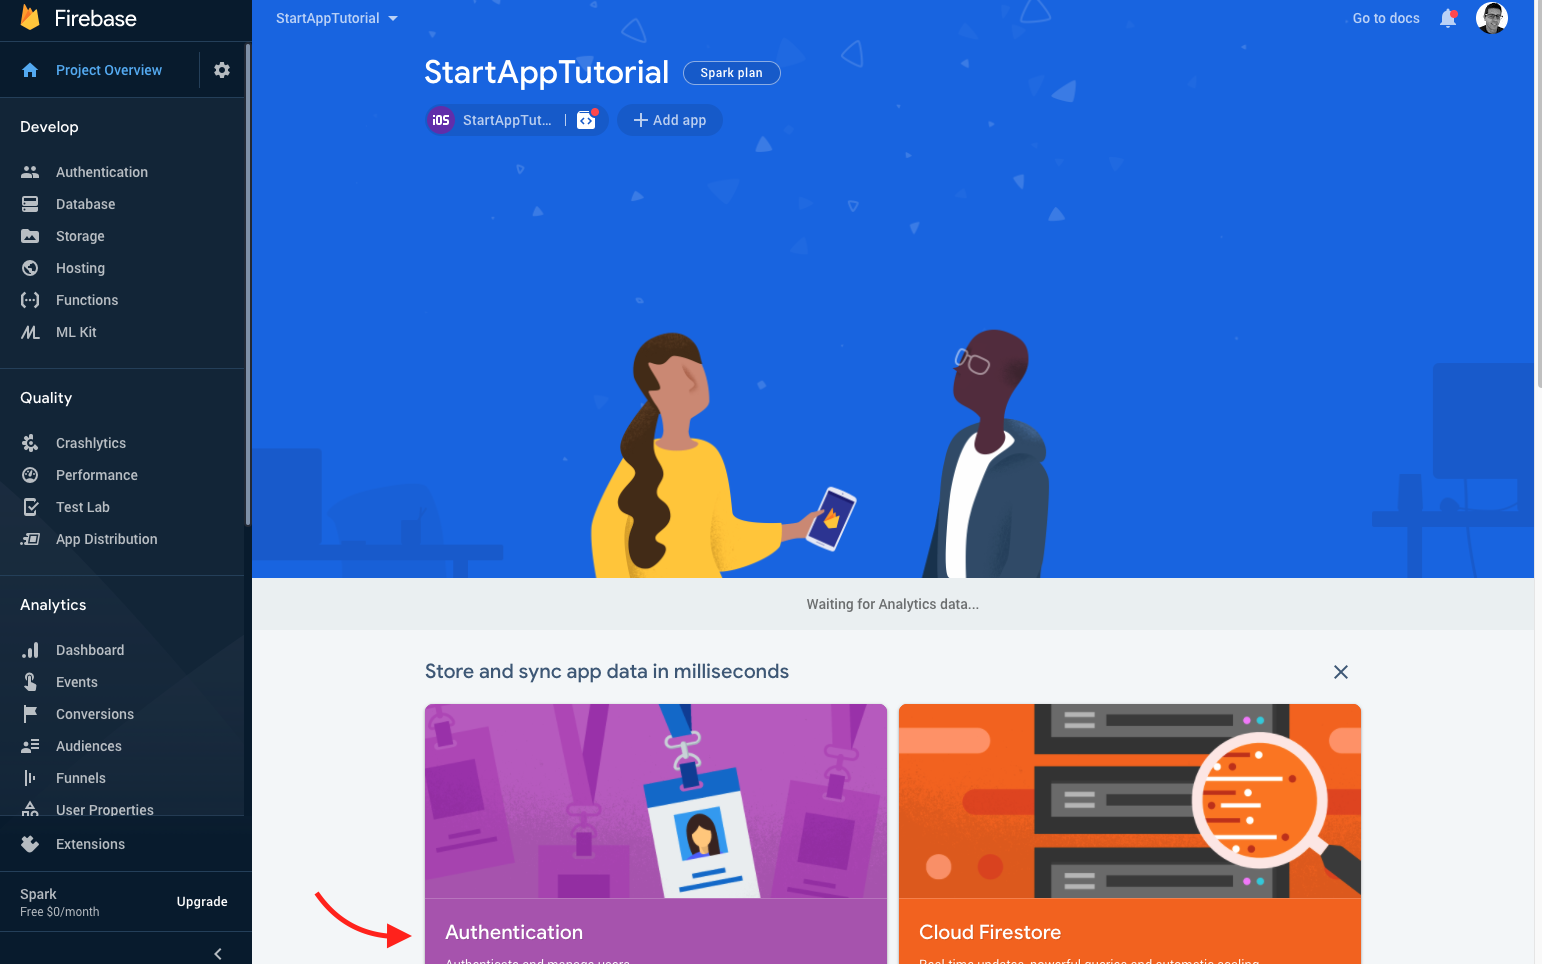
19. Skip steps 3, 4 and 5 on the Firebase website. StartApp already has the code to connect to Firebase. Just click “Next”.
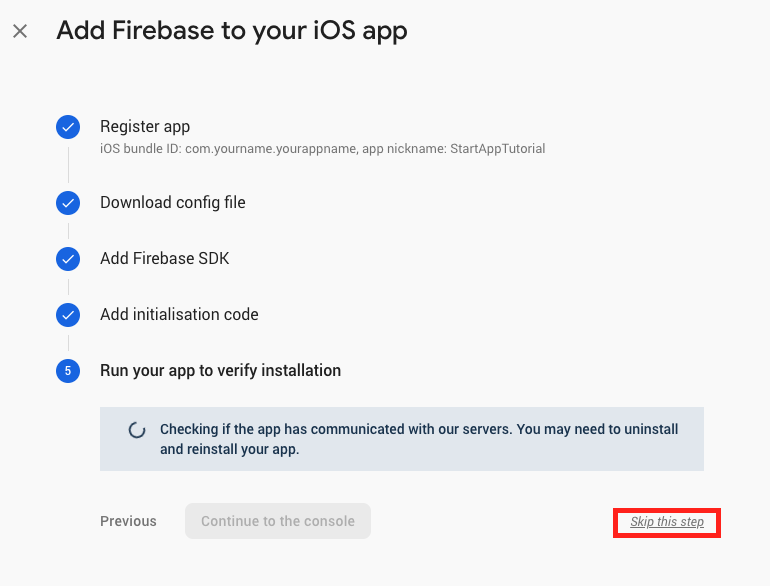
20. On step 5 click “Skip this step”:
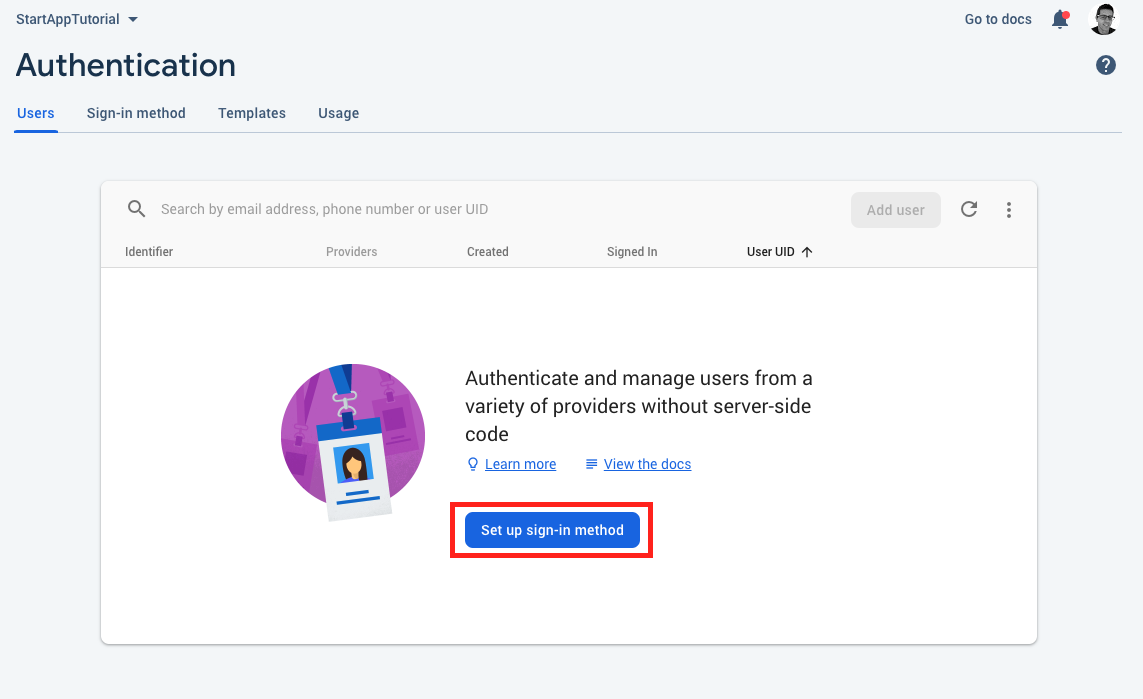
21. Go to “Authentication” and click on “Set up sign-in method”:
22. Click on “Email/Password”, “Enable” and “Save”:
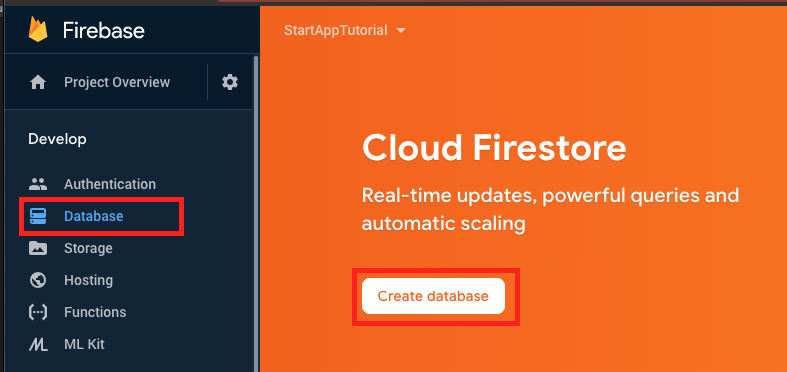
23. Go to “Database” and create a Cloud FireStore database:
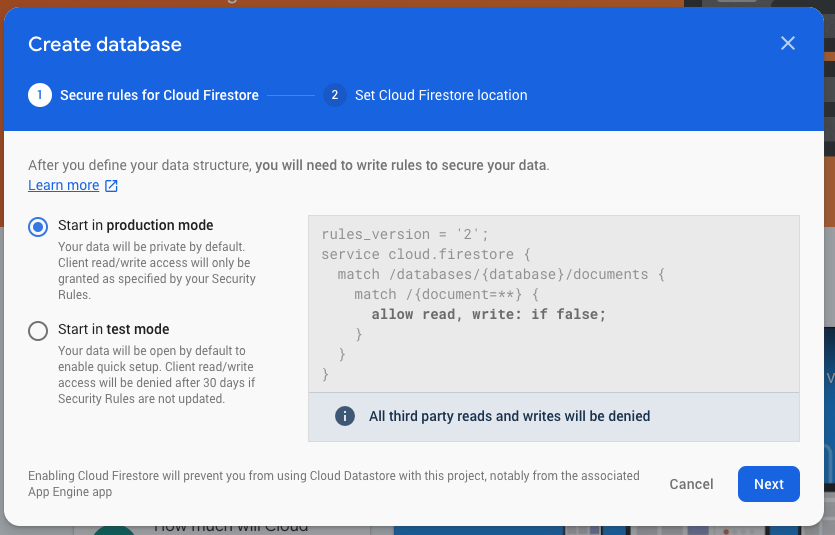
24. Select “Start in production mode”and Click “Next”:
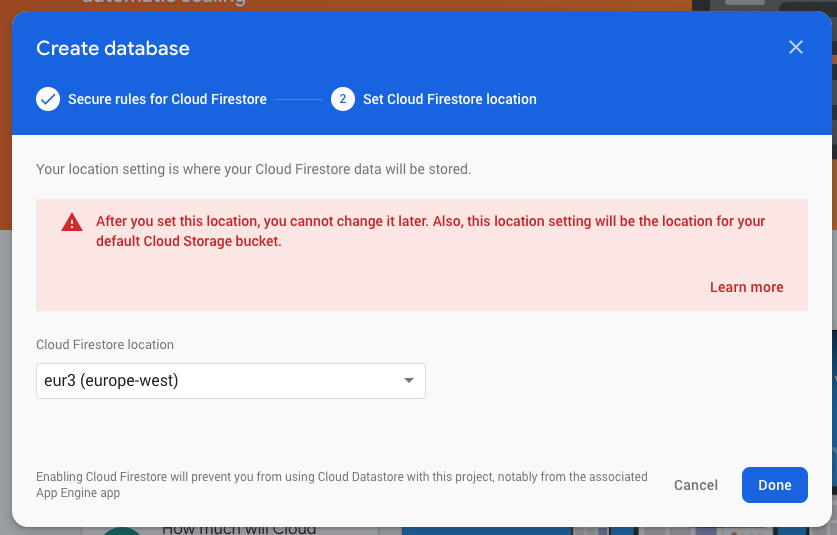
25. Select the region where you think the majority of your app users will connect and click Done:
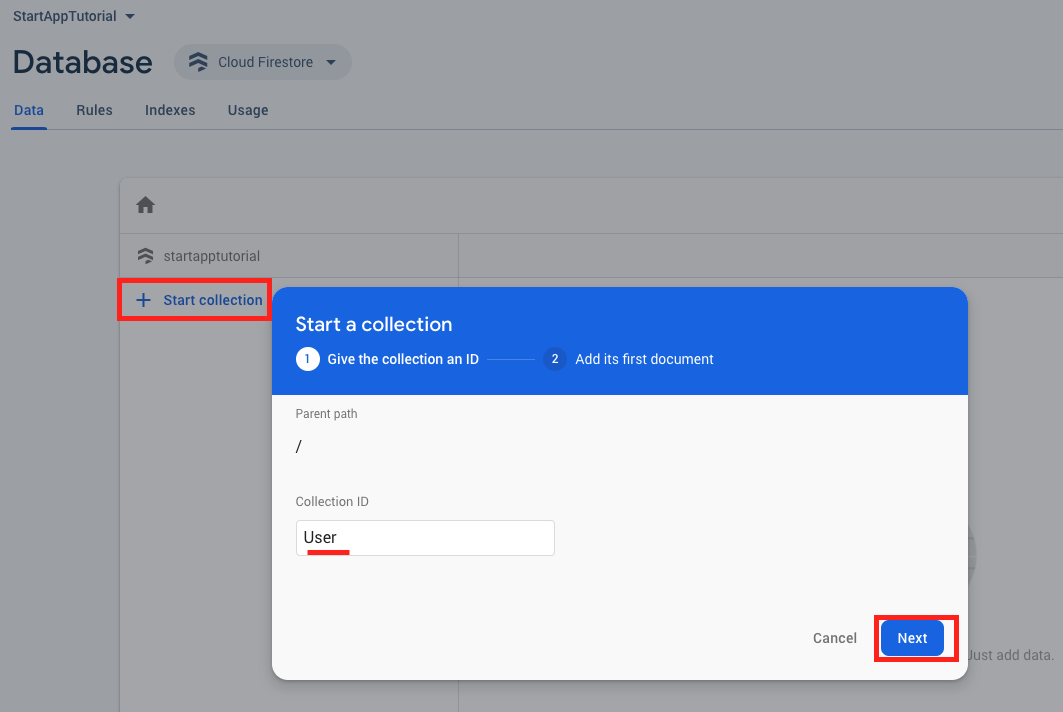
26. Click on “Start collection” write “User” as collection id and click “Next”:
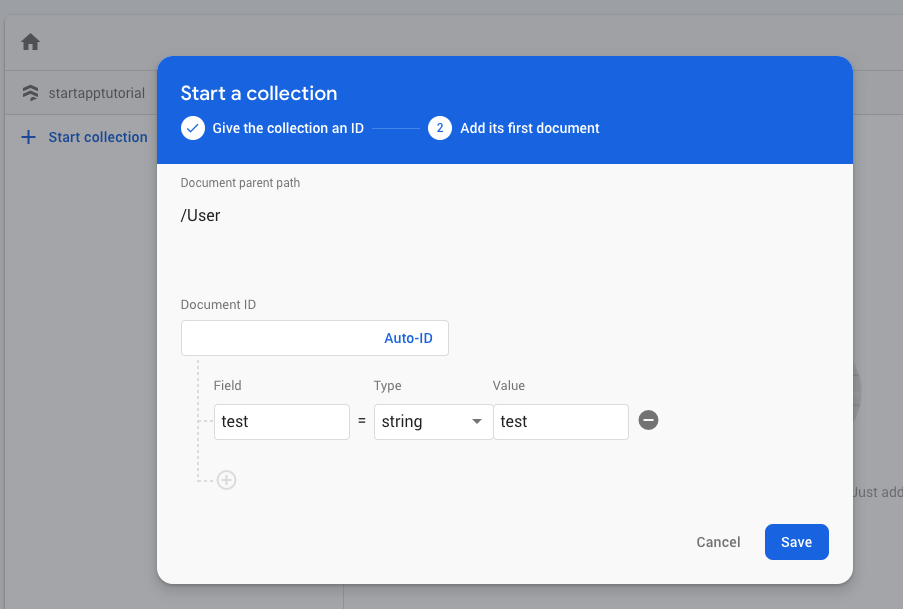
27. Create a Test field with String type and test Value and click “Save”:
28. Go to “Rules” copy and paste the following code and click Publish:
rules_version = '2';
// Allow read/write access to all logued users
service cloud.firestore {
match /databases/{database}/documents {
match /{document=**} {
allow read: if request.auth != null;
allow update, create, delete: if true;
}
}
}
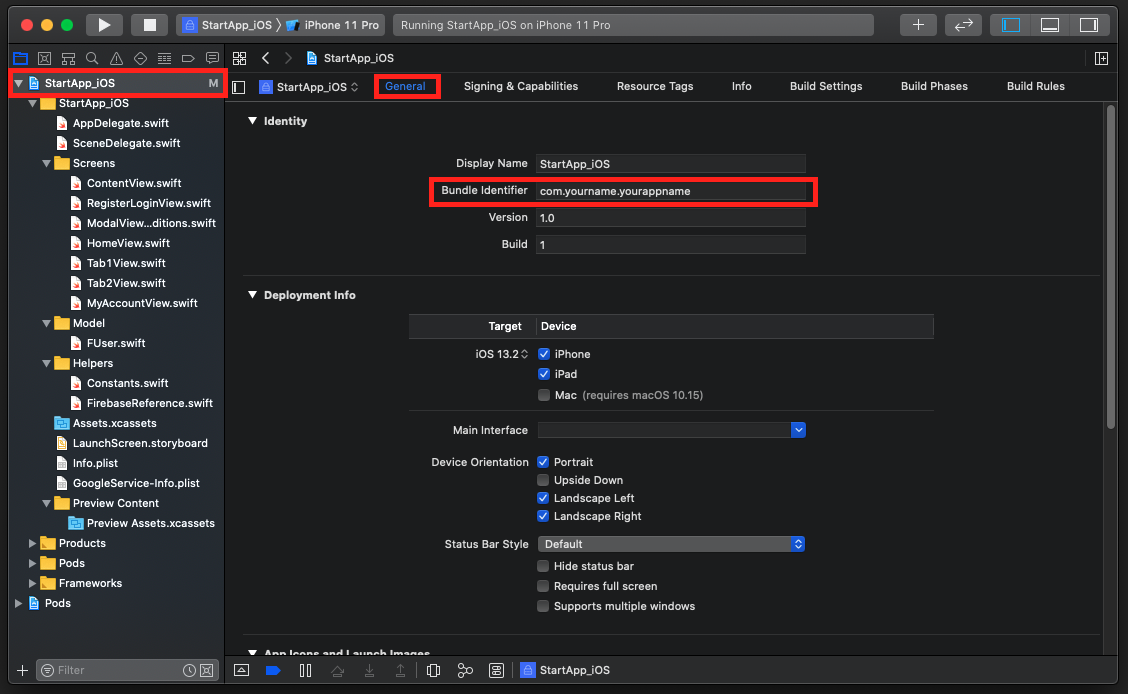
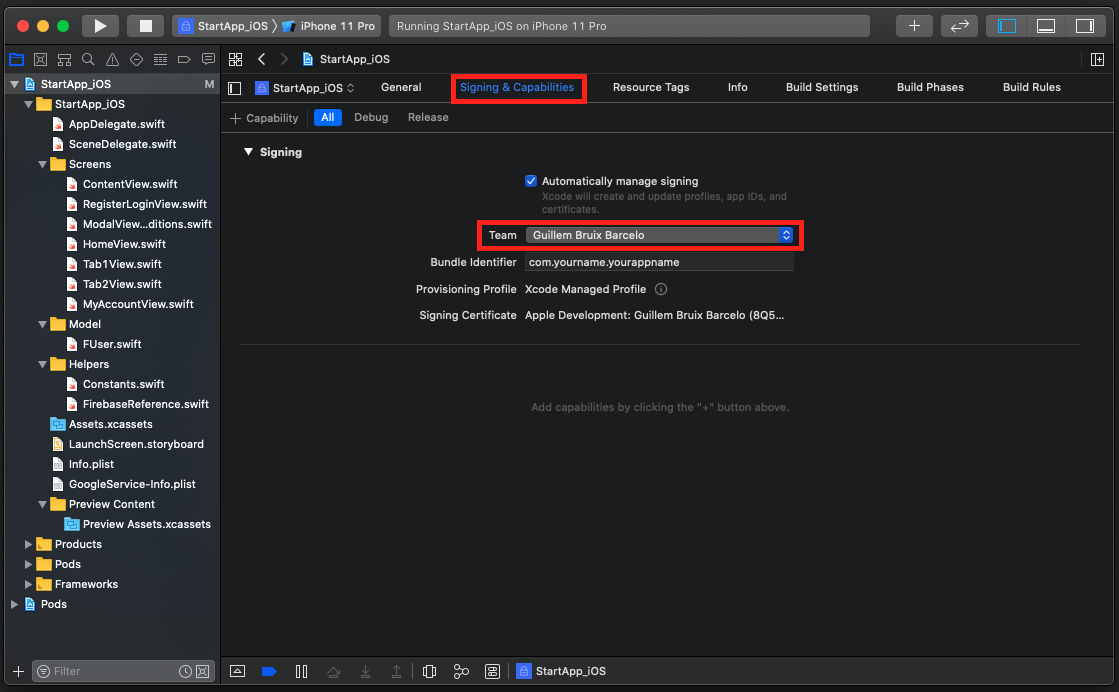
29. Quit Xcode and repeat the steps from 2 till 7 of this tutorial in order to run CocoaPods reinstall the Firebase dependencies and link to your Firebase project.
30. Finally run your Project in Xcode and try it out!